Assess a Planting Location
Planting Map
The Planting Map will show you all the approved, unapproved and yet to be assessed tree planting locations. You can make assessments, changes and register newly planted trees.
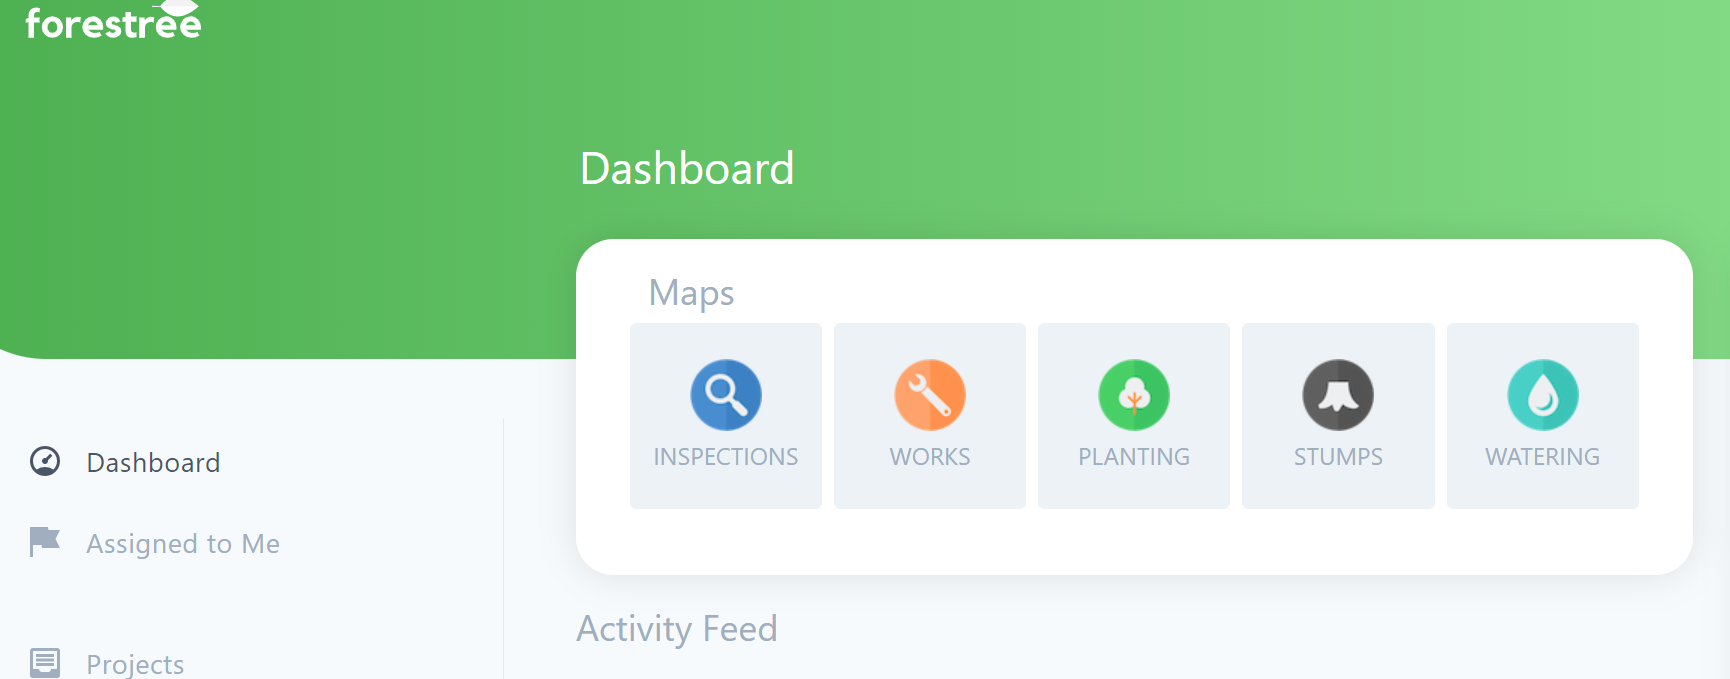
To view, assess or log planting, first go the Planting Map by selecting the tree icon on the Dashboard.
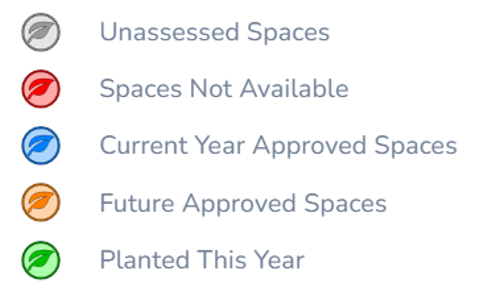
Any planting locations will be highlighted on the map to make them easy to spot. The colour coding matches a legend available on the left menu as below;
You can navigate by zoom & drag, using the search bar for an address, using the geolocation function (refer Maps user guide for more detail on these options).
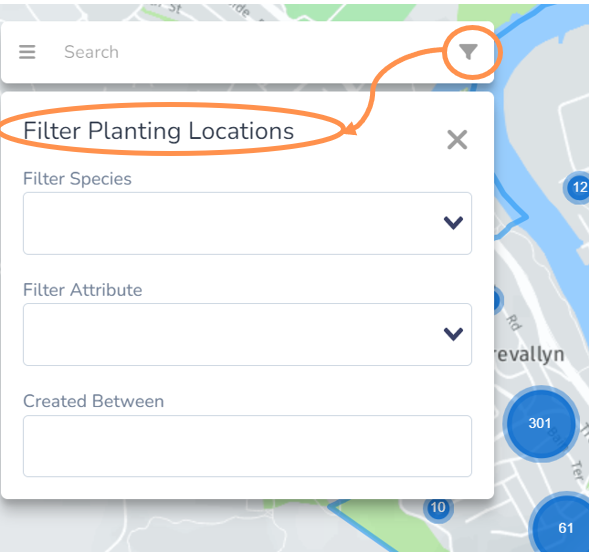
In addition on the Planting Map you can also use the filter symbol button and select from one or more of the filter drop down options.
Assess a Planting Location
Review and assess potential planting locations (vacant spots) to set up future planting year programs.
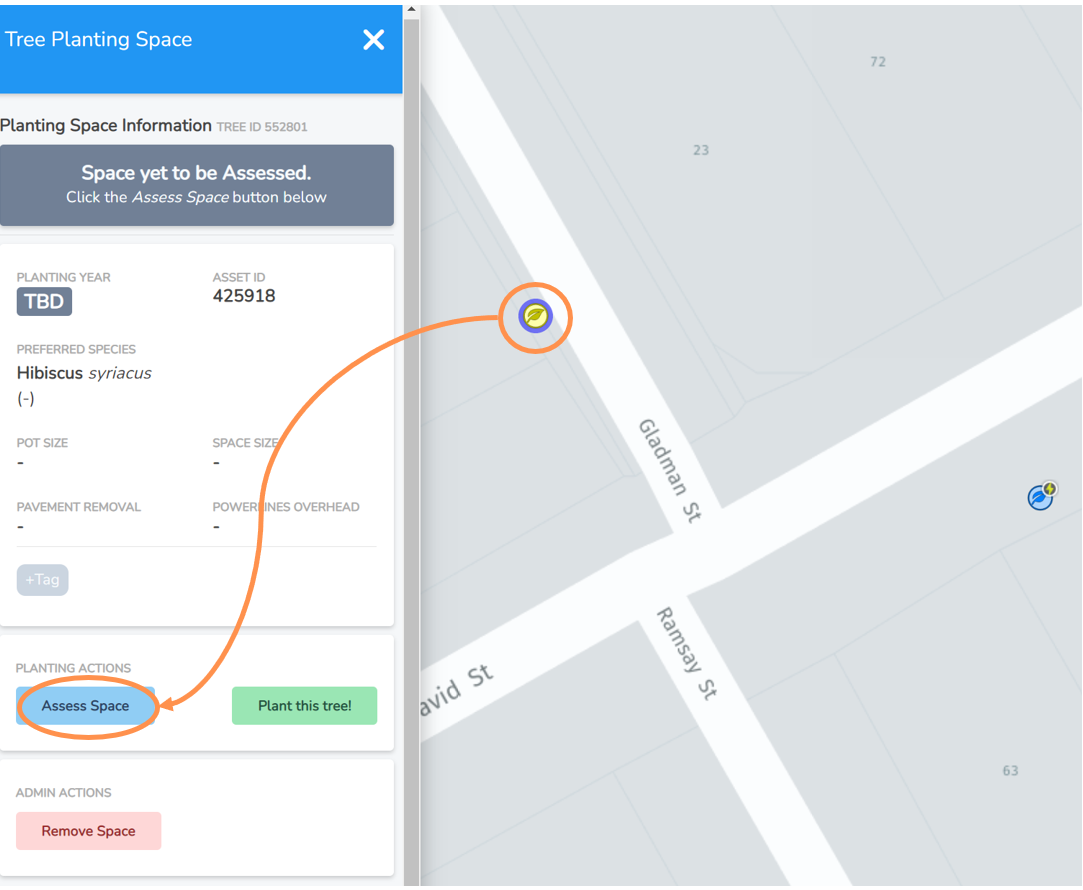
• Navigate to the potential planting location you want to assess from the Planting Map view.
• Select the tree leaf icon maker and the menu to the left will expand.
• Any details included/suggested when the tree location was entered will appear here. However all of them can be edited during the assessment process.
• Under the Planting Actions, select the Assess button.
NOTE: Aside from the unassessed spaces (marked with grey leaf icons) you can also select and re-assess any existing approved or unavailable spaces on the map.
Approval Decision
1. Select if you wish to approve the planting location.
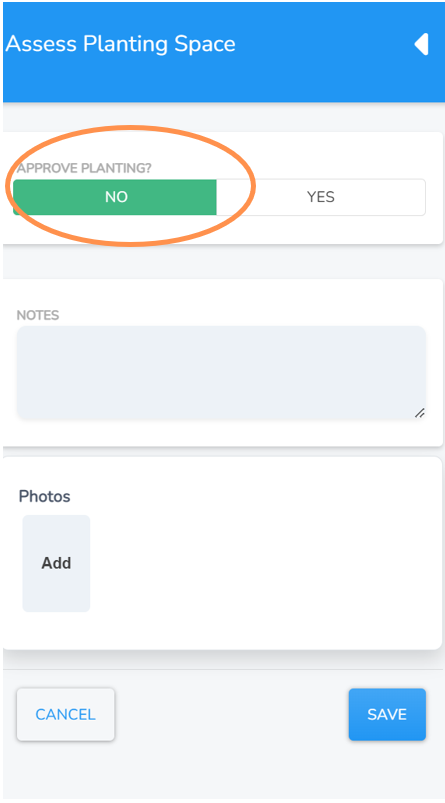
2. If you select no, you will have optional fields to enter notes and/or add photos. Then select save. The point will be registered on the map as unavailable. This is useful so the site isn’t repeatedly requested as potential for planting.
3. If you select yes, then select next and scroll down to see Year to be Planted step.
Below is an example of the entry form for a site not approved for planting
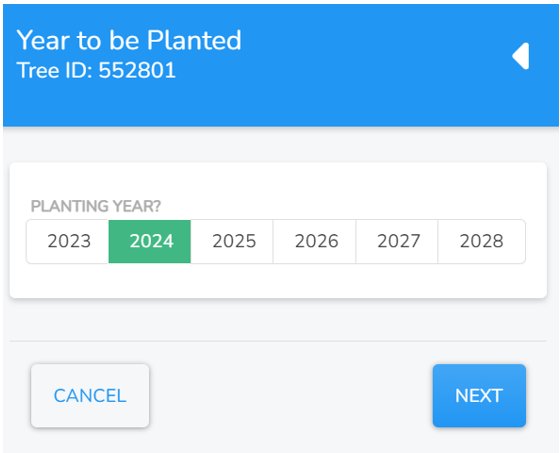
Year to be Planted
If you approved the planting location, you will now be asked to select the year the vacant spot will be planted.
• Select a year from the options provided and then Next.
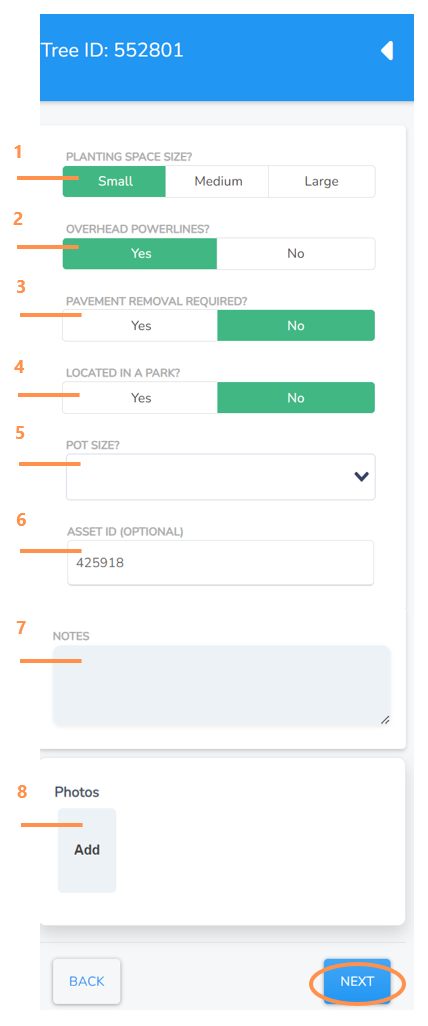
Planting Location Information
Next you will be presented with a list of attributes you can allocate to your approved planting location. If any were suggested at the time of initial location identification these will show up but you can edit them.
Review, edit and/or select:
1. the planting space size from the options provided.
2. if there are overhead powerlines above the planting space
3. if there is pavement removal required (or other hard surface).
4. if the tree is located in a park (no indicates street tree by default)
5. preferred pot size of sapling to be used from drop down options
6. the Asset ID reference (optional number some Councils use).
7. any notes as applicable
8. any site photos
When complete, click Next.
Choose Species
Next you will have the option to allocate a preferred tree species for this tree location space. If one is already included, it was suggested by whoever first entered the potential location which you can keep or change.
To select a preferred species for your planting location you have a few options:
1. Search bar function, simply start typing and select from drop down options or add use the add new species button.
2. If you selected that the site has overhead powerlines, this section will automatically suggest powerline friendly species (if you have these in your background species lists).
3. Check the recent or most common nearby options as a convenient function that can save you time.
4. Click Finish & Save to close the form and save your approved planting space.
